If you have ever looked online for elastic headbands to keep you or your child’s cochlear implant on without the worry of losing them so easy, they can be pretty pricey and you also have to wait a week or more for the headband to come in. I remember the worry of losing my son’s cochlear implants everywhere and wanted an easy way to keep their implants on their heads.
This DIY adjustable headband for cochlear implants will take you around 10 minutes with a few materials that you can buy from your local craft stores!
ITEMS NEEDED FOR THE HEADBAND FOR COCHLEAR IMPLANTS
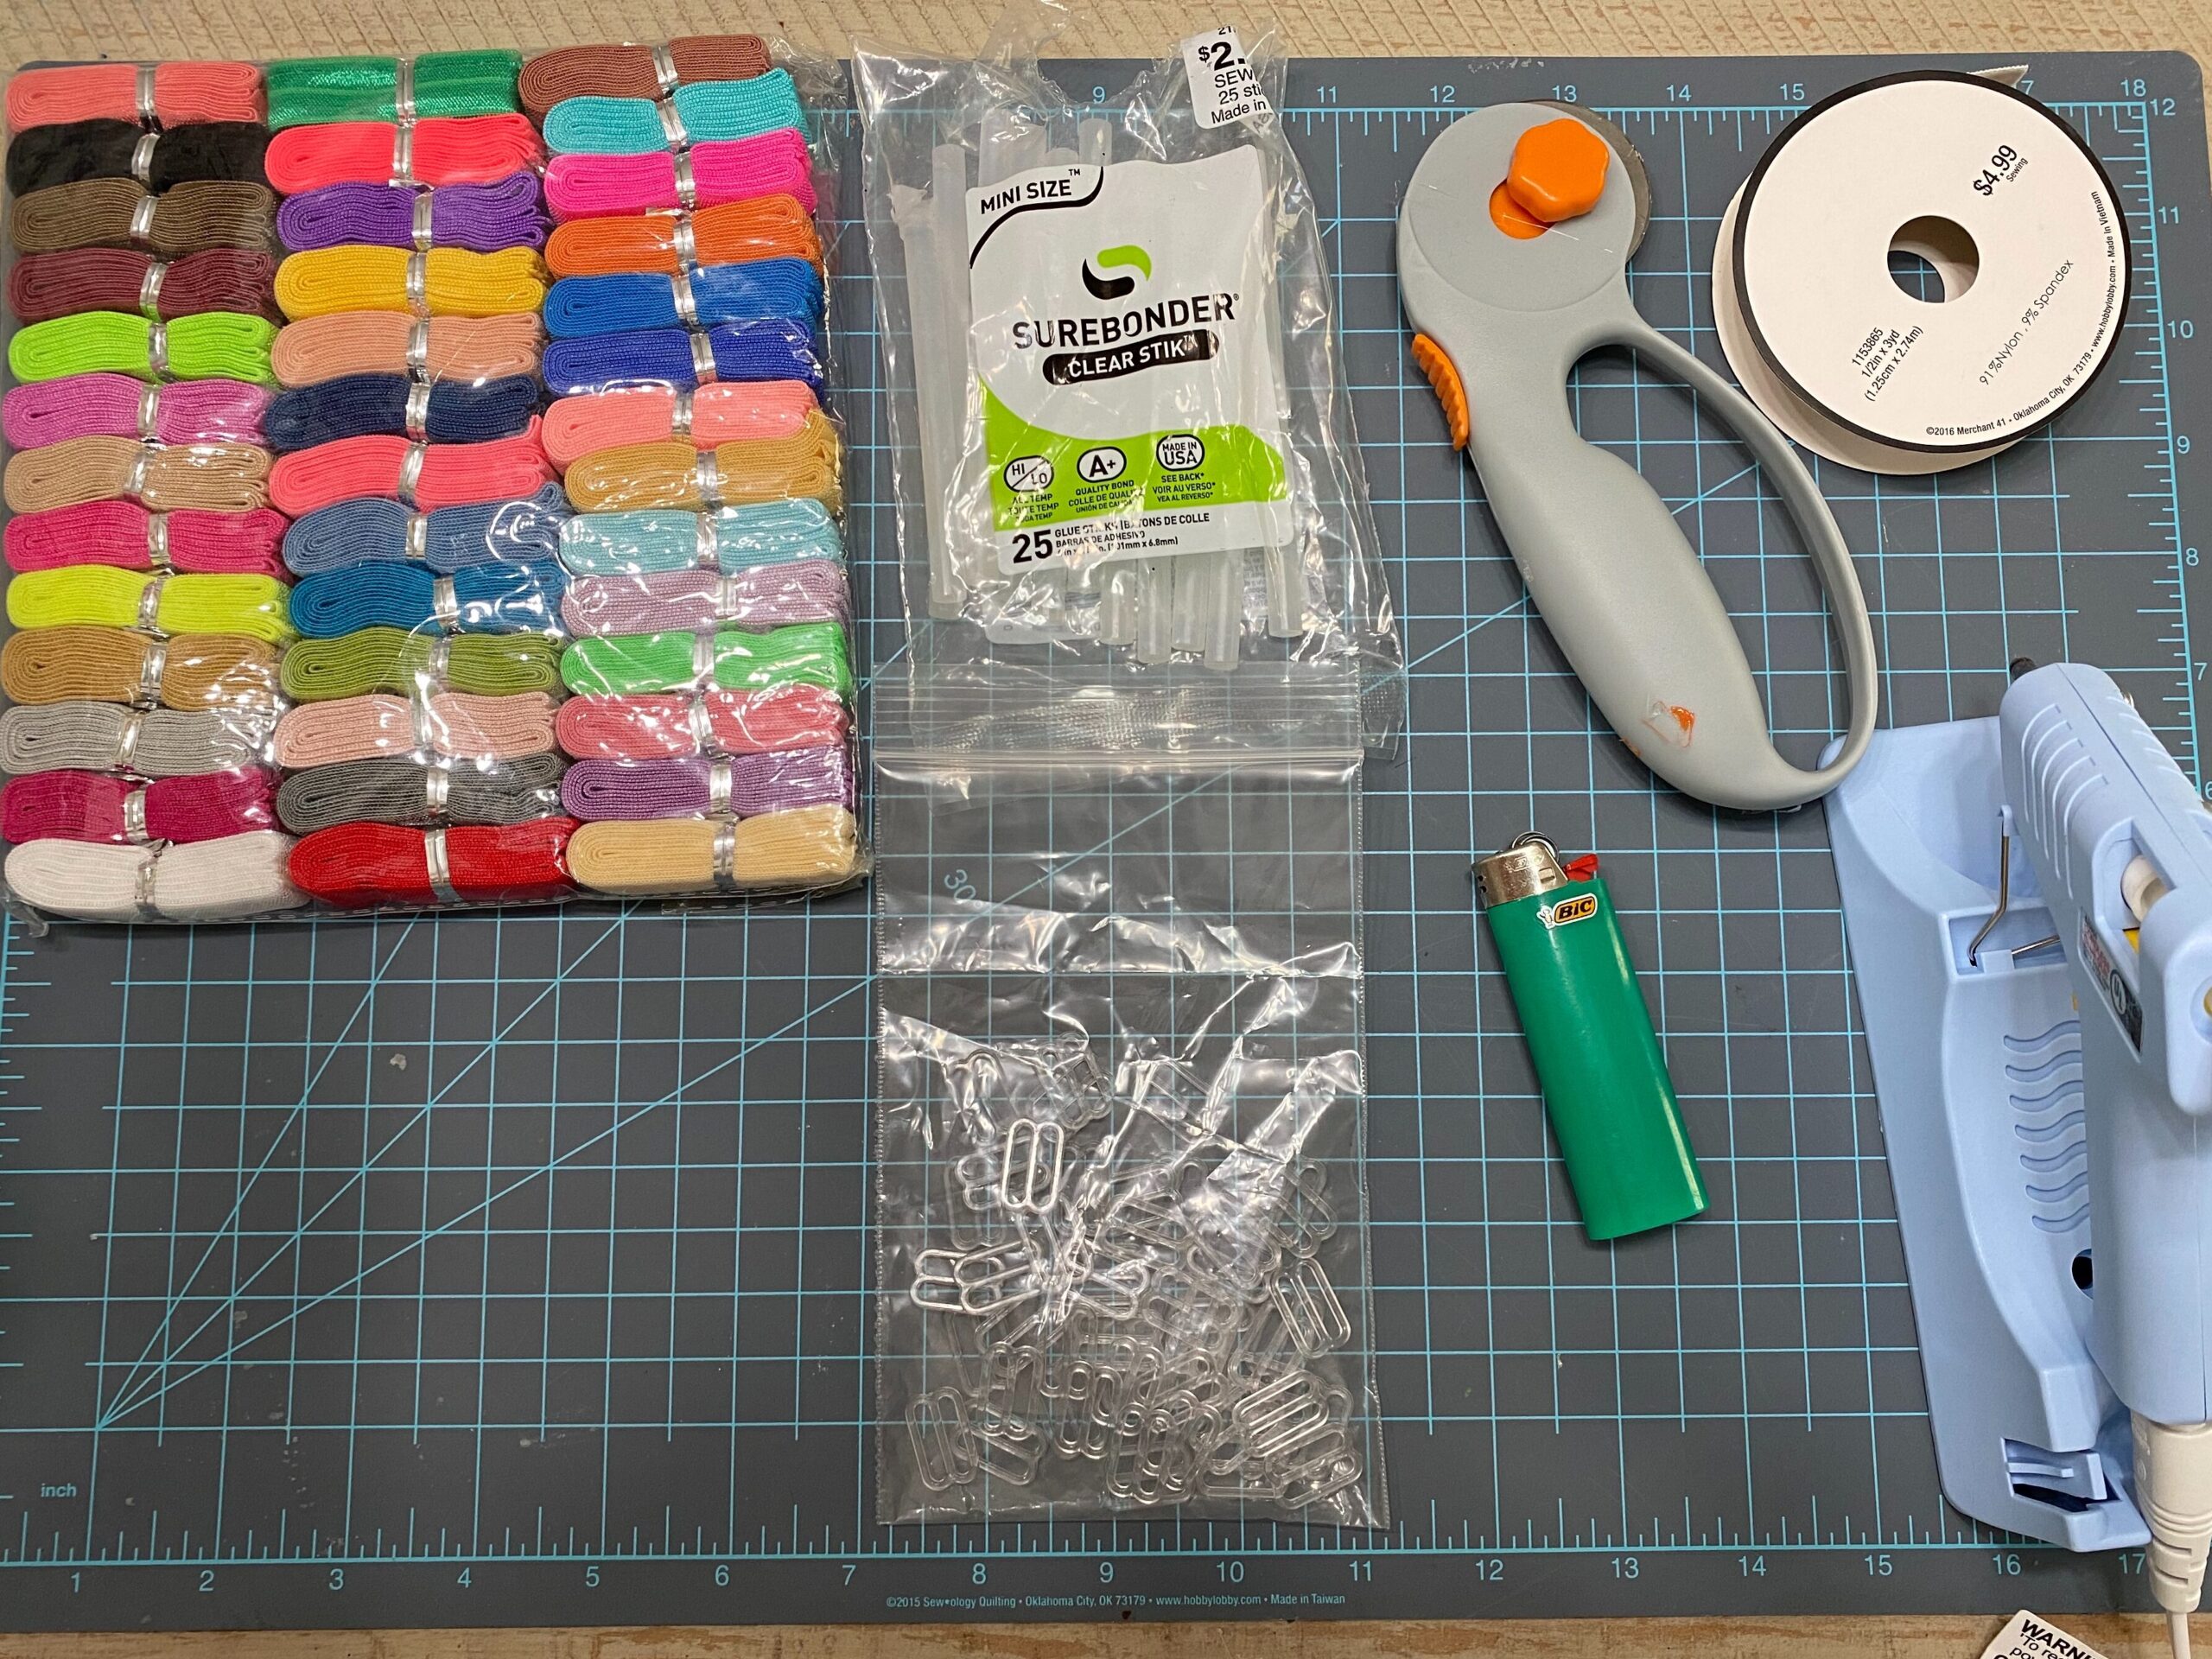
To make an adjustable headband made with fold over elastic ribbon, you will need the following items:
- Fold over Elastic Ribbon – (I ordered mine off of Amazon but Hobby Lobby and Michaels also sells fold over elastic ribbon
- Lengths needed: One 20 inch piece of ribbon & two 4 inch pieces of ribbon
- Plastic Sliders – you need to use 5/8 inch plastic sliders.
- You will need 2 plastic sliders per headband
- Hot Glue – Amazon has some or go to your local craft store
- Hot Glue Gun – Amazon has some or go to your local craft store
- Lighter – burn the edges of the elastic ribbon so it doesn’t fray
- Rotary Cutter – I use Fiskars brand
- Rotary Cutter Mat – I found this at Hobby Lobby
HOW TO MAKE THE ADJUSTABLE HEADBAND FOR COCHLEAR IMPLANTS
If you follow along with my Youtube video above, it shows you step-by-step how to make this headband, but you can also follow the following instructions.
When making an adjustable headband with fold over elastic for cochlear implants, you need to first cut 20 inches of ribbon on your Rotary Cutter Mat with a Rotary Cutter. This is going to be the actual headband. Next you need to use a lighter to burn either side of the cut ribbon for around 1 – 2 seconds so that the edges do not fray.

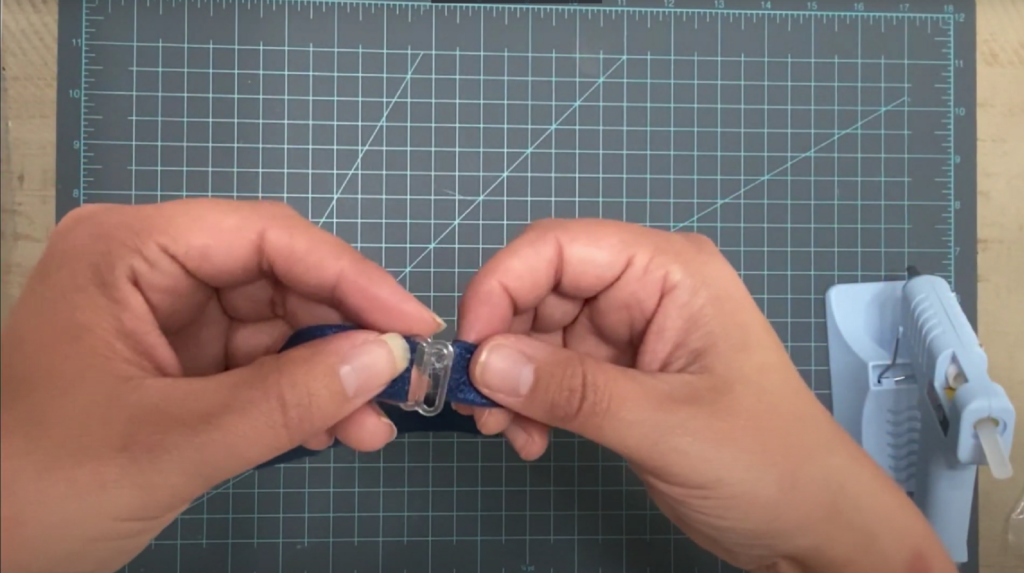
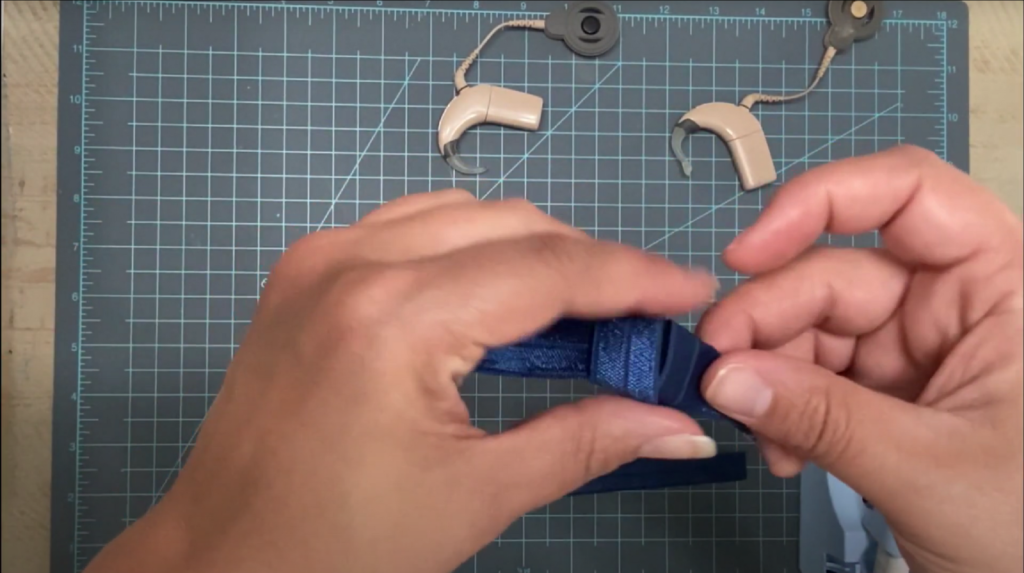
Once you have burned the edges of the ribbon, you need to pass the elastic ribbon through one of the plastic sliders. The key thing to remember when you are putting the ribbon through the slider is that the shiny side of the ribbon should go through the plastic slider and the non-shiny side will be hot glued together.
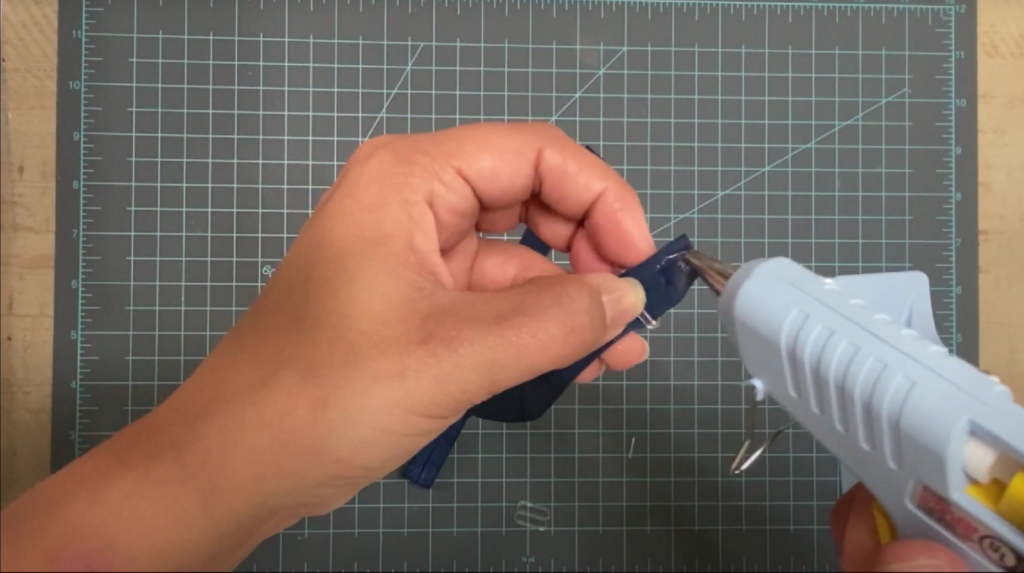
After you have passed the shiny side of the ribbon through the plastic slider, keep around 1/4 – 1/2 inch of foldover elastic ribbon through the plastic slider and put a dot of hot glue between the two pieces of ribbon to secure it. You will need to keep pressure on the area that you just glued together.
Once you have secured the first plastic slider, you need to get the other 5/8 inch plastic slider and pass the other side of the elastic foldover ribbon through with the shiny side still up. Remember for this side of the ribbon that you need to pull the ribbon all the way through until there is around a 5-6 inch piece of ribbon on the other side of the plastic slider.
After the foldover elastic ribbon has been pulled through the second plastic slider, you will be pulling that loose end of ribbon back through the first plastic slider and going through the side that doesn’t have the glued down piece of fabric first. The key thing to remember is that you need to keep the shiny side of elastic ribbon matching so that your headband doesn’t twist.
When you finish passing the ribbon through the first plastic slider, bring the ribbon back to the second plastic slider. Take the ribbon that is already through the plastic slider and make a 1 inch bubble. This is going to make it easier for you to pull the ribbon through the right side first and pass it back through the left side (keeping the shiny side up – so the shiny side will be touching the non-shiny side. You can use this bubble as a way to grab the end of the ribbon and pass it through.
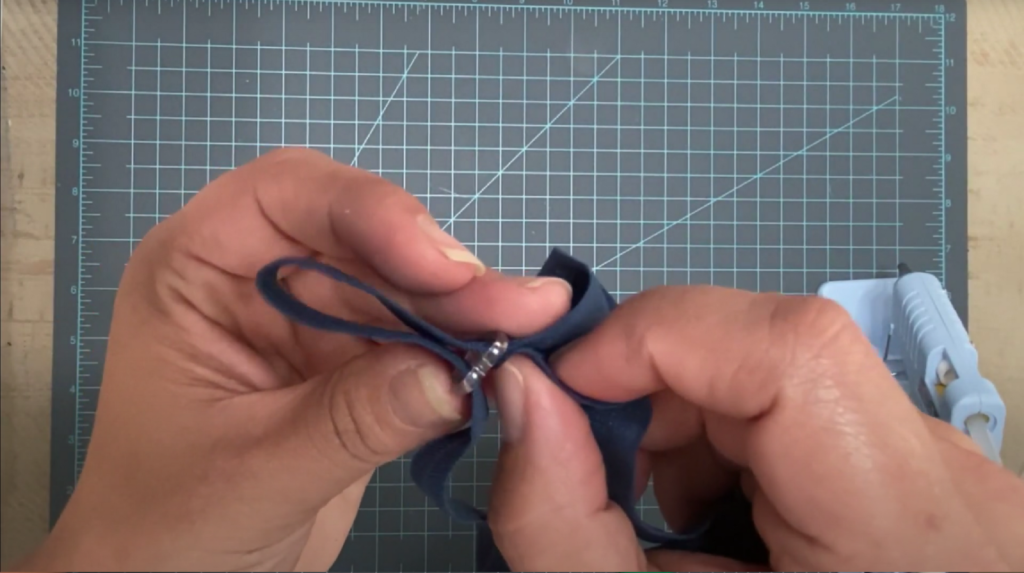
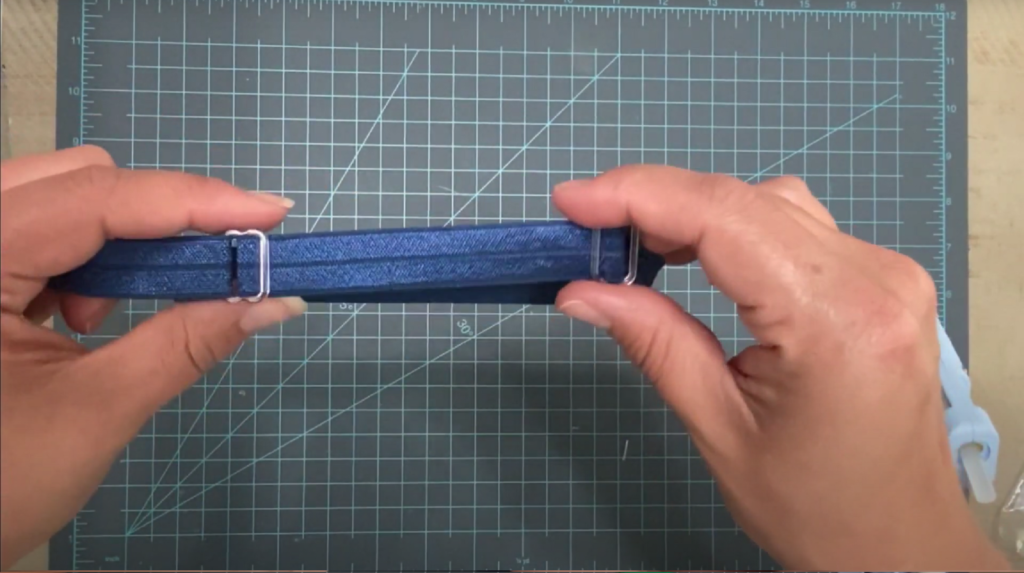
Now that you have passed the ribbon through the plastic slider, you should keep 1/4 – 1/2 inch of foldover elastic ribbon outside the plastic slider. Take your hot glue gun with the hot glue and put a dot of hot glue. You need to keep pressure on the ribbon for around a minute until the glue dries. Your foldover elastic headband is now complete!
TURN YOUR ADJUSTABLE HEADBAND INTO A HEADBAND MADE FOR COCHLEAR IMPLANTS
Now that your adjustable foldover elastic headband is complete, you need to make it into a headband for cochlear implants! For this part, you will need an additional two pieces of elastic ribbon that is cut into 4 inch pieces.

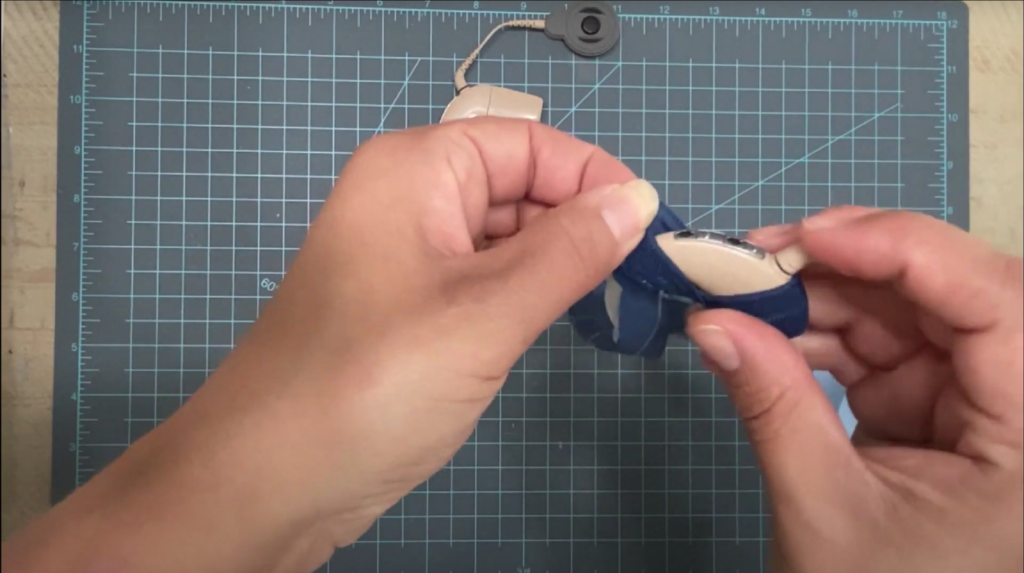
Use the lighter to burn both sides of the ribbon so the fabric doesn’t fray. For this part you are going to be wrapping the end piece of the fabric under the back side of the headband on one side with the shiny side up to match the headband. You need to take your hot glue and put a dot on the back and press your ribbon together. Loop the ribbon back around at an angle and glue the back piece to the ribbon.
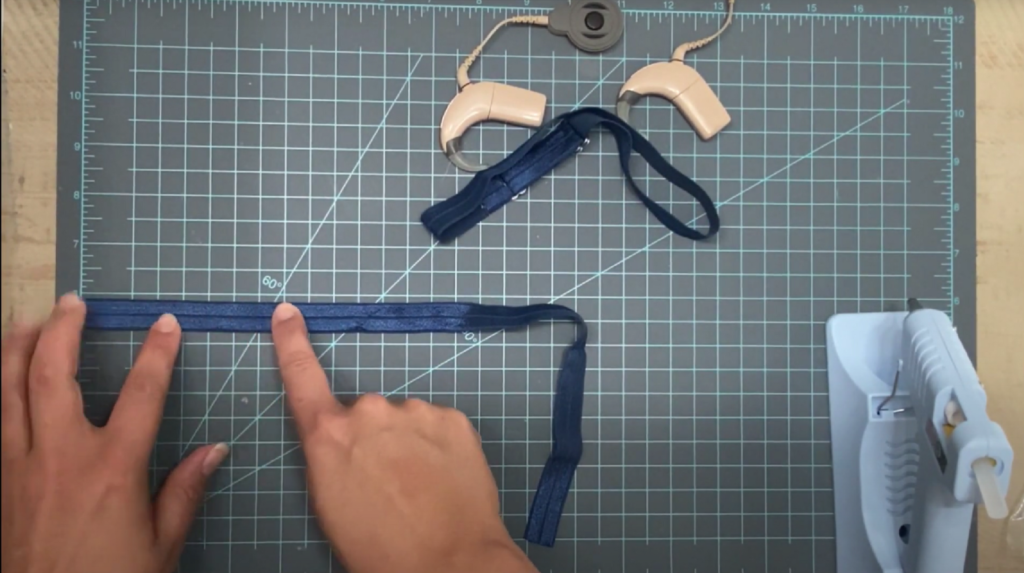
You now have made one side to hold your cochlear implant into the headband. If you are a unilateral cochlear implant wearer, your headband is now complete. The great news is that you can slide the cochlear implant piece of ribbon to either side of the headband.
If you are a bilateral cochlear implant user, then you would repeat this step again to make a holder for both of your cochlear implants. You now have an adjustable elastic headband for cochlear implants. You can make as many headbands for cochlear implants as you need in a variety of colors!